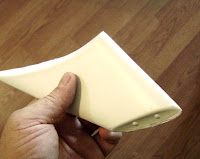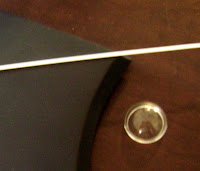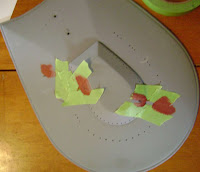

I purchased this model from AW Studios and thought I would do a kit review as a part of the build. First off, for the price, you can't beat this for a garage kit. When I got the box it came at just the right time, a day when I was actually caught up on a few things and had a little time for something like this.The kit was professionally packed and in perfect condition when it arrived. For a vacuum, or thermal formed kit it came with surprisingly crisp details, not to mention the fact that a good modeler can only make it better. The kit came with some really nice clear cast parts for lighting and a complete set of windows and decals from JT Graphics. If you are a decent modeler and are not afraid on vac kits, this is the kit for you, especially if you're an original series fan. Check out the photos below and check back often to see the build progress.
Edit to add electronics video link, just copy and paste.
http://www.youtube.com/watch?v=lbT_gTflsJo


Cleaned up the flash from all of the parts.....


Sanded and prepped the clear parts..... Made a simple mold of the dome to cast a clear part of my own.


Opaqued all of the parts to block light leaks for lighting effects.


More to come.....
I haven't updated this in a long time, but since I'm working on this again, concurrently with the 350th TOS, I thought it was about time that I show some of the work that I've been doing since this first got started. If you are interested in one of these kits, please let me know. My friend sells them and they are a good value and a great kit to go with the new PL thing.
At any rate, below is some of the recent work..... Keep on Trekkin! Don't let the douche' bags get you down! ;)
I used the Playmates ROM BOP as a reference for the changes I'm going to make to the kits to add impulse engine lights.
Much more to come. Stay Tuned! =/\=
OK, here are some more updates on this build.... I back filled the top fo the BOP with envirotex and after it hardened, I taped that area off and sprayed the rest of the interior hull with flat white. I also built up a clat dam and backfilled the front of the lower hull where the windows are to use as a Light Wave-Guide. The rest you'll see in photos....


No comments:
Post a Comment